
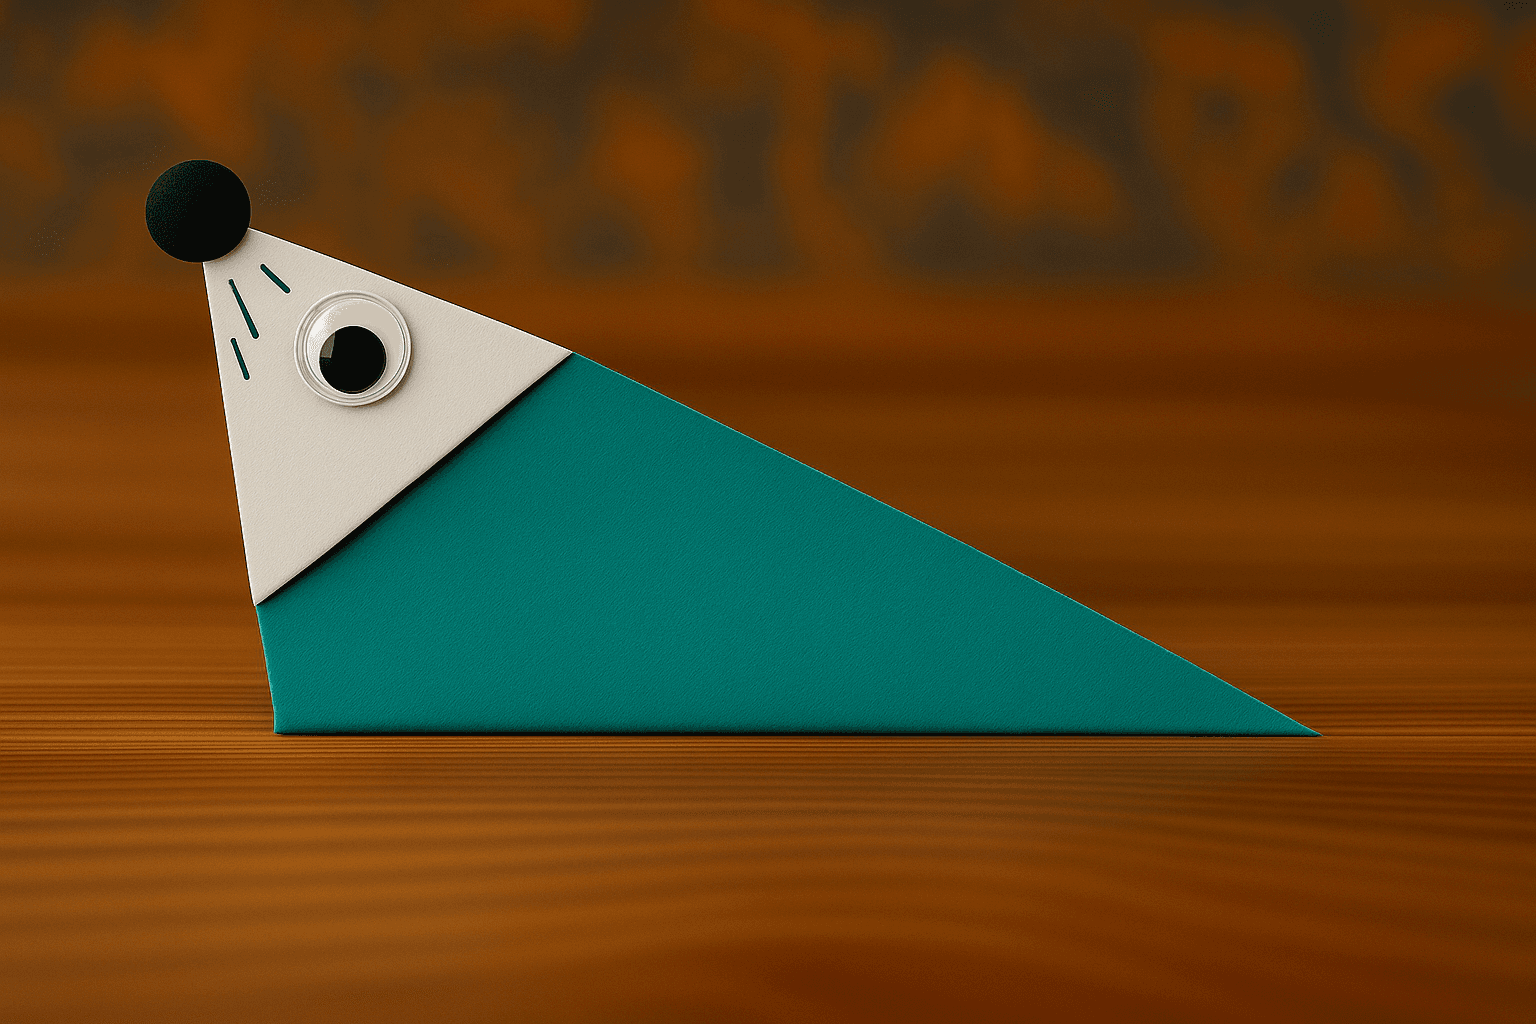
Create a cute and easy Little Mouse using basic origami techniques. This beginner-friendly project is perfect for kids and adults who love animals and want to start with origami folding.
Follow detailed visual guides with clear images showing each fold, crease, and technique to create beautiful origami models
Place your paper like a diamond. Fold the left corner over to the right corner, making a straight vertical crease down the center. Press firmly along the fold to create a clear guide line for the next steps.

After folding the paper in half, take only the top layer and fold it over to the right side. This is like turning a page in a book, creating a thinner triangle shape.

Place the paper back in a diamond shape. Fold the right corner inward so its edge lines up perfectly with the vertical center crease. This will help form the body of the Little Mouse.

Fold the left corner of the paper toward the vertical center crease so that both edges meet neatly in the middle, forming a kite shape. This builds the body for your origami Little Mouse.

Carefully turn the paper over to the other side, keeping the folds intact. The kite shape should still be neat and pointed downwards.

Fold the top point of the kite downward, creasing along the dashed horizontal line. This starts to form the Little Mouse's head.

Turn the model over to the other side, keeping all folds flat and neat. This will prepare the shape for creating the Little Mouse's body and tail.

Bring both the top left and top right corners down to meet at the vertical center line. This step shapes the Little Mouse’s head and prepares the ears.

Fold the entire figure in half by bringing the left side over to the right side along the vertical center line. This move sets up the Little Mouse's body and tail shape.

With the model folded in half, the figure becomes narrow and slim. The small sticking-out triangle will help define the Little Mouse’s head shape.

Add final details to your Little Mouse by drawing a small circle for the eye and a few short lines for whiskers near the nose. Now your origami Little Mouse is complete!

Follow along with our detailed video tutorial to learn how to fold your origami. This step-by-step guide makes each fold easy to understand and fun to follow!

We're working on the video tutorial to help you fold with me. Stay tuned — it'll be available here shortly!
Get more origami tutorials and tips delivered to your feed
Subscribe NowDiscover more origami models to expand your paper folding journey


FoldWith.Me © All rights reserved
Made with ❤️ by @foldwith.me