Follow detailed visual guides with clear images showing each fold, crease, and technique to create beautiful origami models
Tip:
Use your fingernail to press the fold gently and create a visible line.
Tip:
Ensure the edges meet precisely at the center crease.
Tip:
Hold both sides gently while flipping to avoid unfolding.
Tip:
Align the folds precisely for a clean base.
Tip:
Use the next step image to check how it should look when done.
Tip:
Make sure the tip points cleanly and lines up with the base.
Tip:
Adjust the angle to give the head your desired shape.
Tip:
Try to keep both folds symmetrical for balance.
Tip:
Check angles so both legs look similar.
Tip:
Be gentle when creasing so the model retains its shape.
Tip:
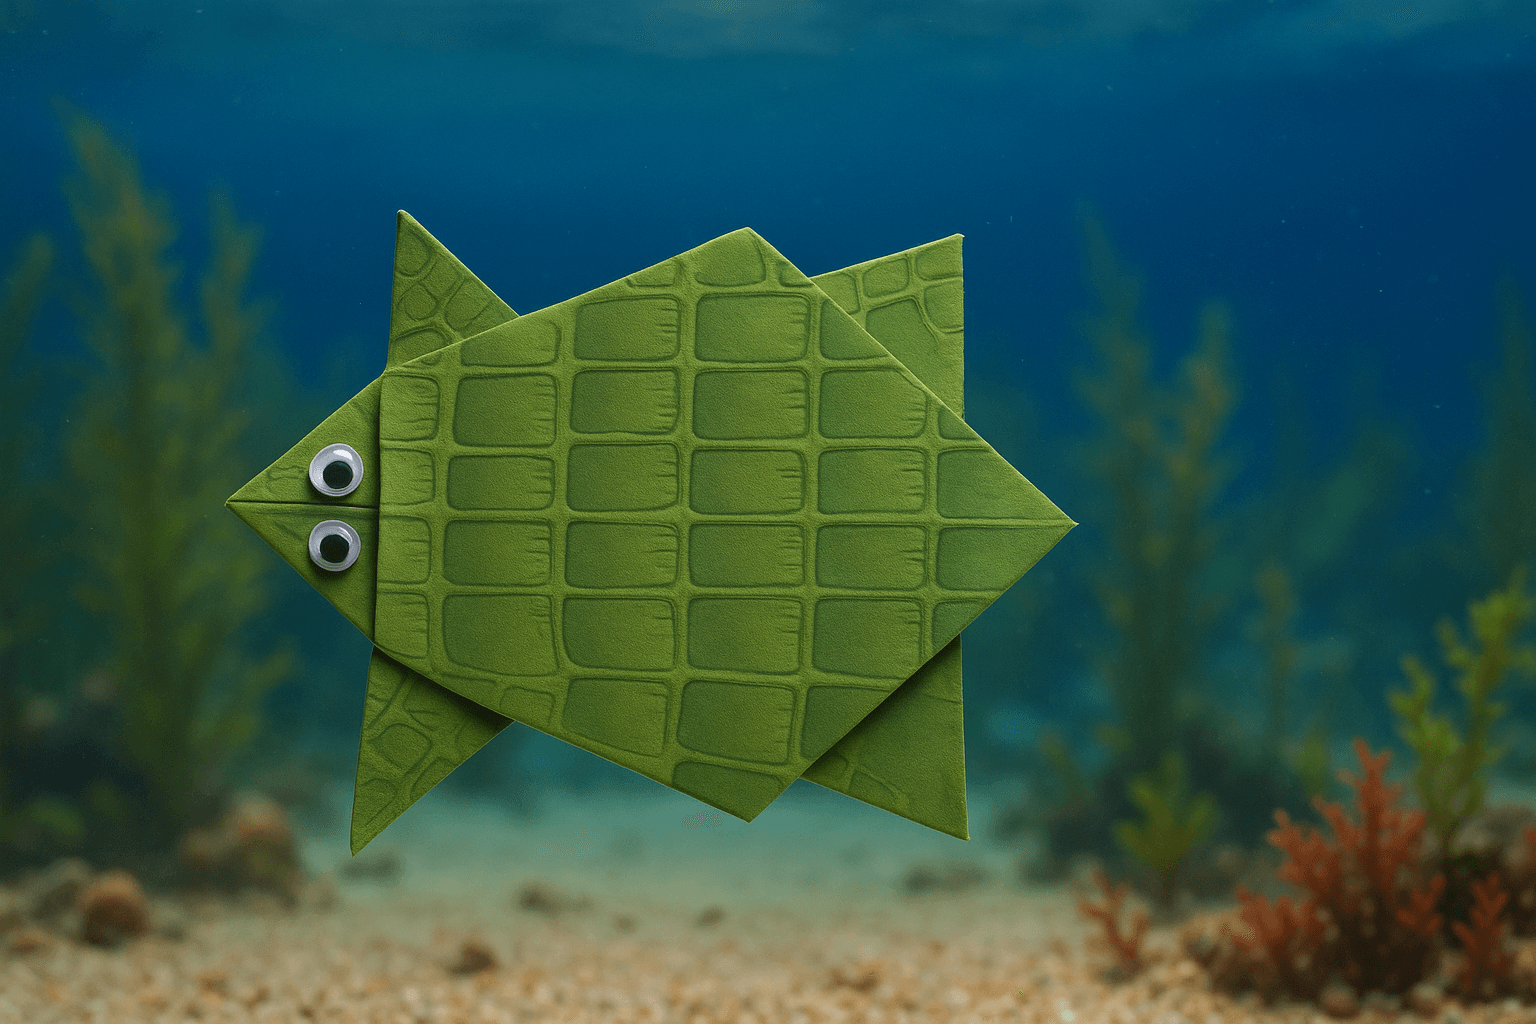
Use glue-on or sticker eyes — or draw your own with a pen.
Tip:
Patterned paper or markers can really bring your turtle to life!
Was this tutorial helpful?
Folded this model? Share a photo of your creation with the community!
Log in to share your fold with the community
Log inThis beginner-friendly origami turtle is a fun and creative paper craft perfect for kids and adults. Using a square sheet of paper, you'll follow 12 easy steps to create a flat turtle with visible head, legs, and tail. Decorate it with eyes and shell patterns for a charming handmade result.
FoldWith.Me © All rights reserved
Made with ❤️ by @foldwith.me
New tutorials every week on our YouTube channel
Follow along with video tutorials, tips, and behind-the-scenes of origami creation.
Discover more origami models to expand your paper folding journey


Comments
Share your thoughts, tips, or questions about this model.
Log in to join the conversation
Log in